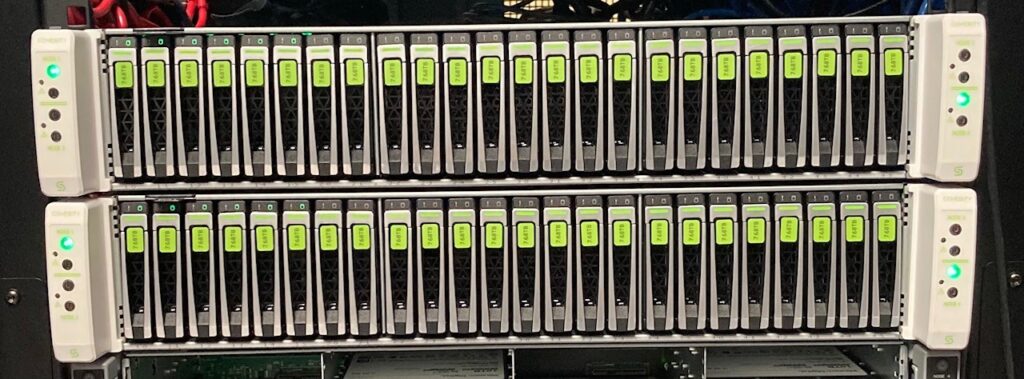
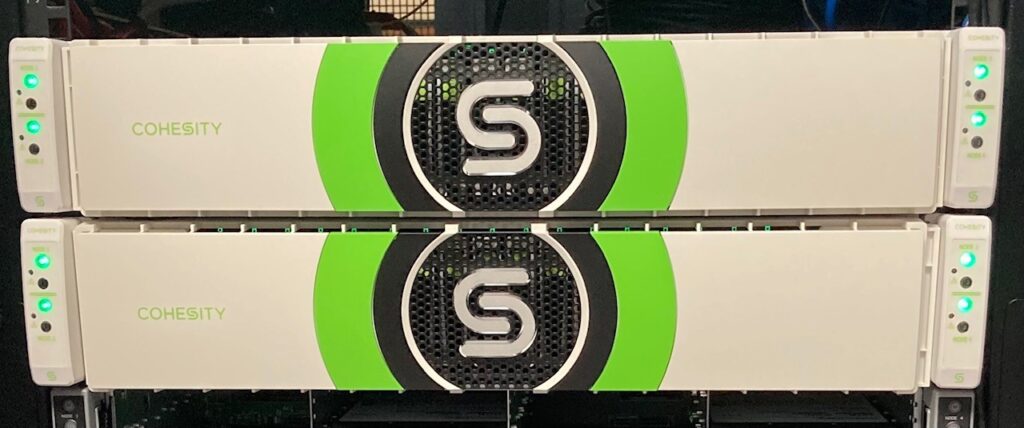
Guess who had the opportunity to install his first all-flash Cohesity cluster yesterday? That’s right, you guessed it!
Data protection conversations are all about restore times and ransomware protection, not only backups anymore. 😎
If 368TB of raw SSDs with up to 800 Gbit/s of bandwidth in 4RU is something that gets your attention, then we are definitely speaking the same language!
Steps required to install this cluster:
- Unbox the equipment (chassis, rails, cables, instructions, bezel)
- Mount the quick-installs rails first
- Slide in the chassis in the rack/rails
- Lock it down with the front screws
- Run all the necessary cabling (10/25G for data and power)
- IPMI (1G) is optional, but recommended
- Power on the nodes in the chassis
- Bring a crash cart and connect to each node with the VGA adapter
- Login to the node with the default credentials
- Launch the network configuration script
- Select your IP address, subnet, gateway, bond type, etc
- Rinse and repeat for every node
- Once all the nodes are configured, type the IP address of one in your browser
- Login to the Cohesity console with the default credentials
- Select all the nodes that will be part of the new cluster (they should be automatically discovered)
- Fill out all the required fields (cluster name, DNS, new password, VIP IP addresses, etc)
- Create cluster with 3-nodes to avoid issues and wait 10-15 minutes for the process to complete.
- Once completed, add the remaining nodes and it will be very quick process.
Voila! And that’s it…cluster is now ready to be used (backups, file shares, analytics, etc).