Do you have a complex network (IPv6 disabled, IGMP snooping disabled, etc) and you do not want to make the required changes for the node auto-discovery to be seamless?
Not a problem! There are a few steps that you need to follow in order to prep the nodes to be discoverable in that case.
IPMI Configuration
- Login to IPMI directly from the BIOS (Crash Cart) and configure network settings (ip address, subnet, gateway)
- Login to IPMP from web portal
- https://ipmi_ip_address (configured on step 1)
- Username = ADMIN (Case Sensitive)
- Password = Serial Number found on the IPMI network port (back of the chassis)
- Open KVM session from IPMI web console
- Login as =
root / nutanix/4u - Configure host VLAN tag
- Command =
ovs-vsctl set port br0 tag=host_vlan_tag - Now login to the CVM directly from that KVM session
- Command =
ssh nutanix@192.168.5.254 - Check for configured bonds, command =
ovs-appctl bond/show 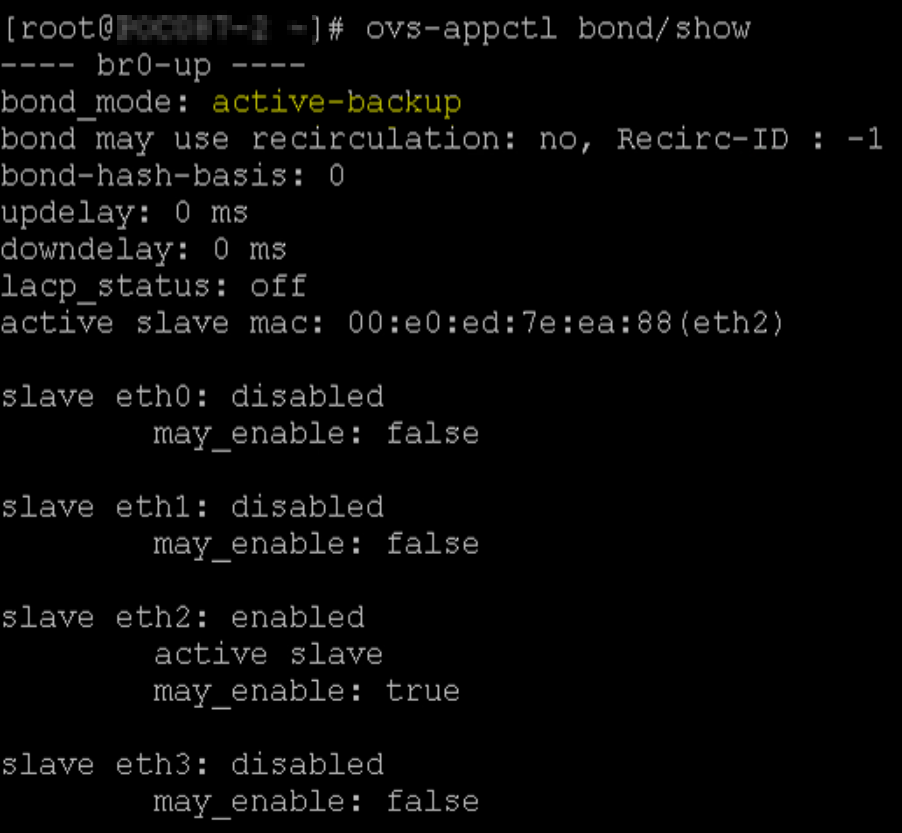
- Execute the following command several times to gather which ports are active =
ethtool ethX(X = port number) - Example:
ethtool eth1 - Once you have identified your active uplinks, proceed to create the network bond
- In order to tell which uplinks are active, you need to look for the “Link detected: yes” message
- Now you need to re-configure the bond and use all active uplinks you just identified before
- Command:
allssh "manage_ovs --bridge_name br0 --interfaces eth2,eth3 --bond_mode active-backup --bond_name bond0 update_uplinks" - Update CVM VLAN tag to match the Host VLAN tag as well
- Command =
change_cvm_vlan 1234 - Done!
- You can now login to your Prism management console, perform a discovery and discover the new node
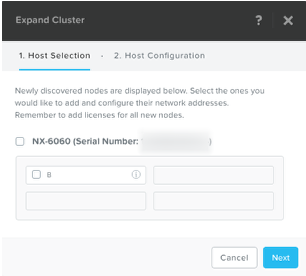
- Select node and specify the IP settings for CMV, Hypervisor and IPMI
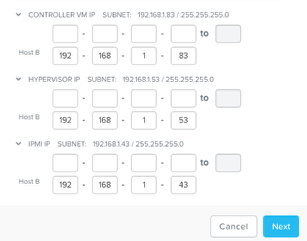
- Proceed to the next screen and add to the cluster
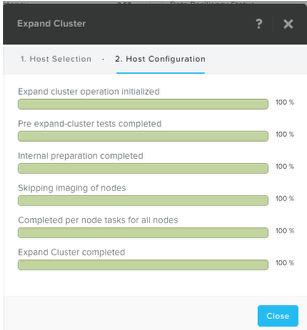
- Your datastore has been successfully expanded, and you now have more compute resources as well!